In order to complete the Business account opening process, you need to provide us with the following documents:Corporate Documents
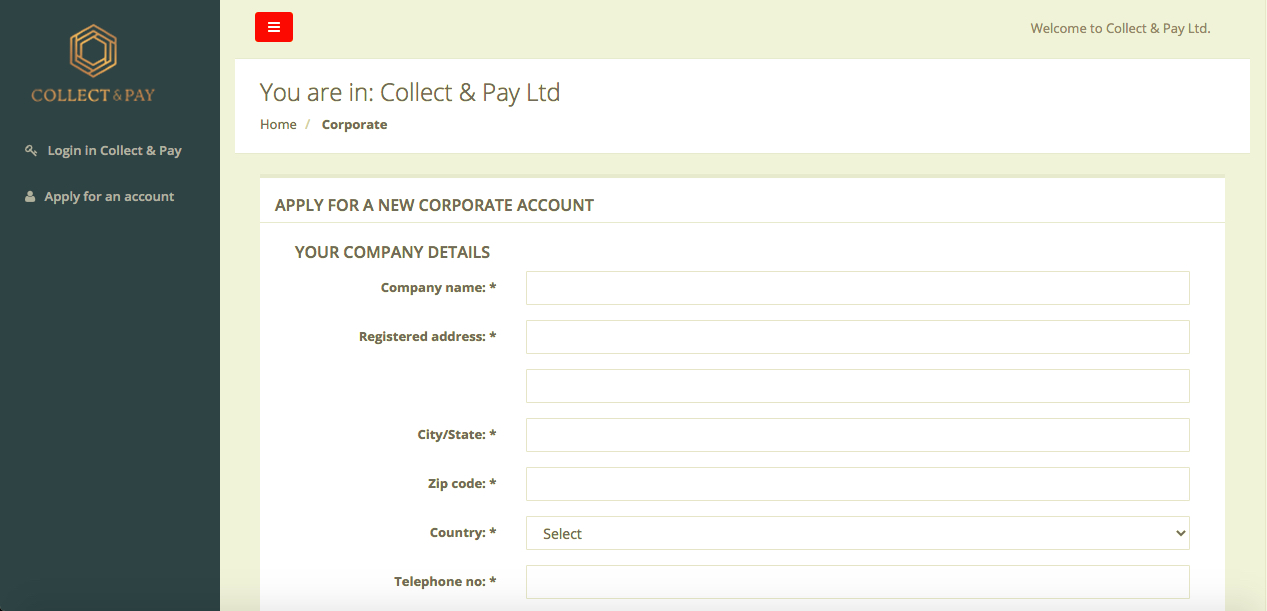
After having your application for a Collect & Pay account approved, you will receive a welcome email. Click the link in the welcome email access your Collect & Pay account.
Google Authenticator is a multifactor app for mobile devices. It generates timed codes used during the 2-step verification process.
To use Google Authenticator, install the Google Authenticator application on your mobile device. Go to your app store on your mobile device (Google Play store or Apple App Store) and search for “Google Authenticator”.
When you have the Google Authenticator app installed and configured on your mobile device, select the “+” icon and sign on the app to pair the mobile device with your Collect & Pay account. Hold your camera to the screen and scan the QR code.
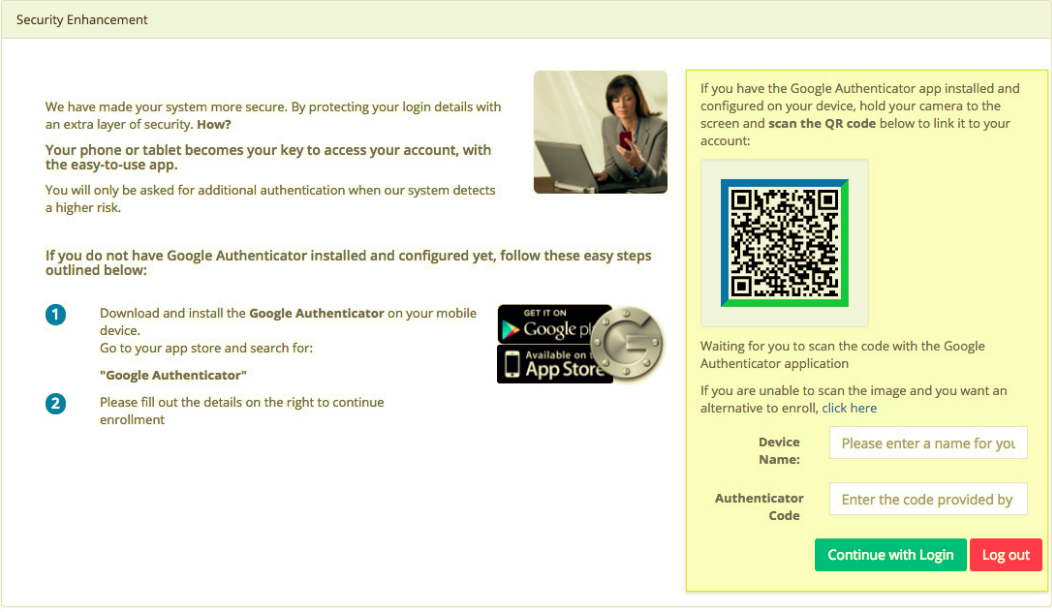
After successfully linking the Google Authenticator app on your mobile device with your Collect & Pay account using the QR code, fill out the Device Name field (this can be any name based on your wish) and the Authenticator Code field using the code generated by Google Authenticator on your mobile device. Please note the code is regenerated every 30 seconds.
When done, click “Continue with Login” button. Now you are done setting up your Collect & Pay account.
Please make sure to transfer initial funds to cover the account opening fee and minimum account balance to your account within the next 30 days to avoid your account suspension due to inactivity.
For instructions about how to fund your Collect & Pay account, see the “How to send funds to a Collect & Pay Account” tutorial below.
Ability to add more users to a Collect & Pay account is disabled for each client on default. If you are interested in adding more users to your Collect & Pay account, contact us to have this feature enabled.
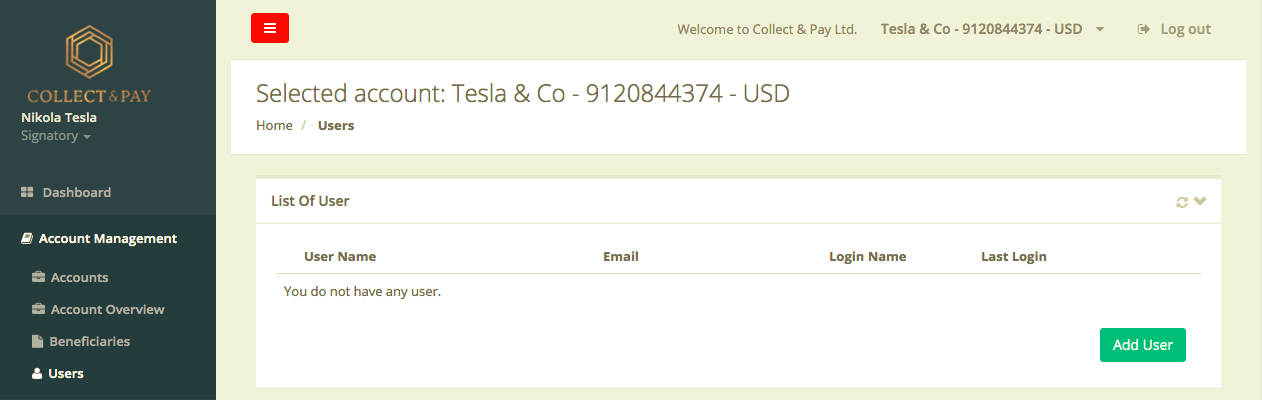
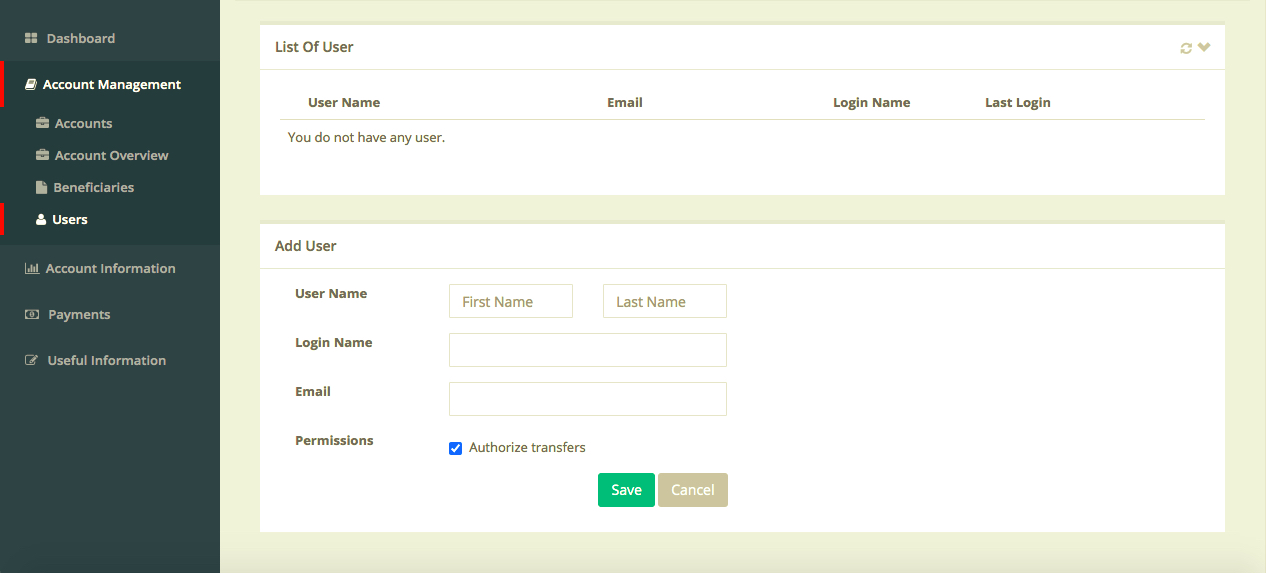
Once you have the multi-user function enabled for your Collect & Pay account, follow these steps to add a user:
Collect & Pay works with multiple banking partners to provide our clients with multiple funding options. The funding instructions of specific banks are enabled to each client on individual basis, based on the client’s business profile.
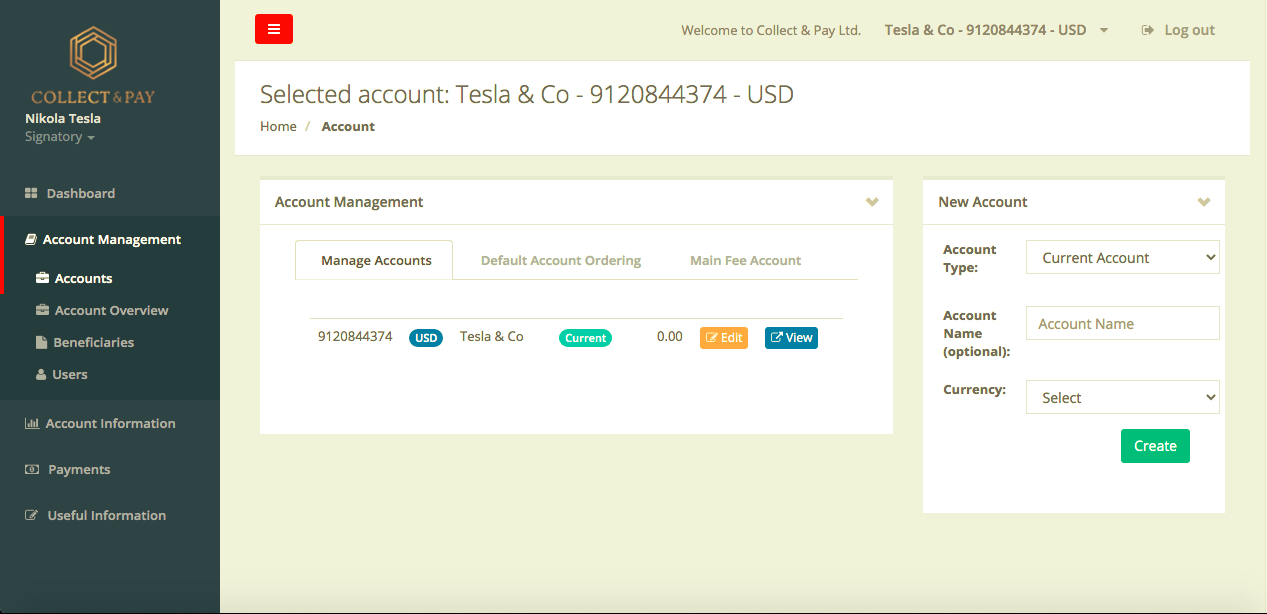
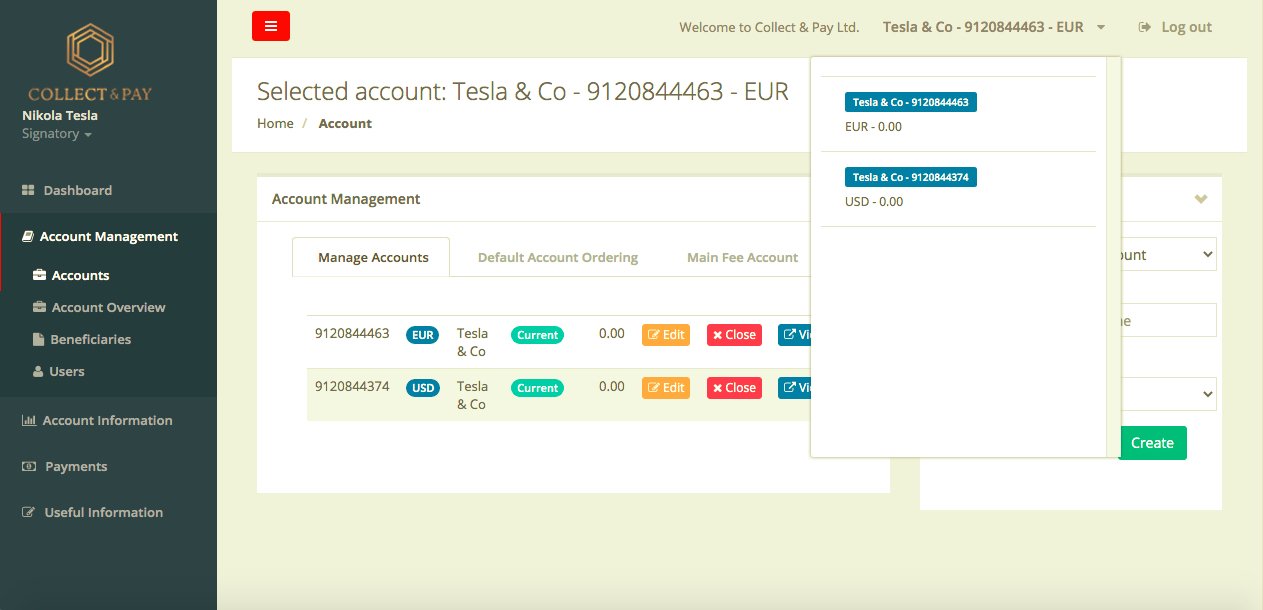
To access the funding instructions for an account, kindly follow these steps:

Pay attention to use the banking instructions exactly as displayed in your account, including payment reference code, if applicable, to avoid unnecessary delays in crediting your funds to your account.
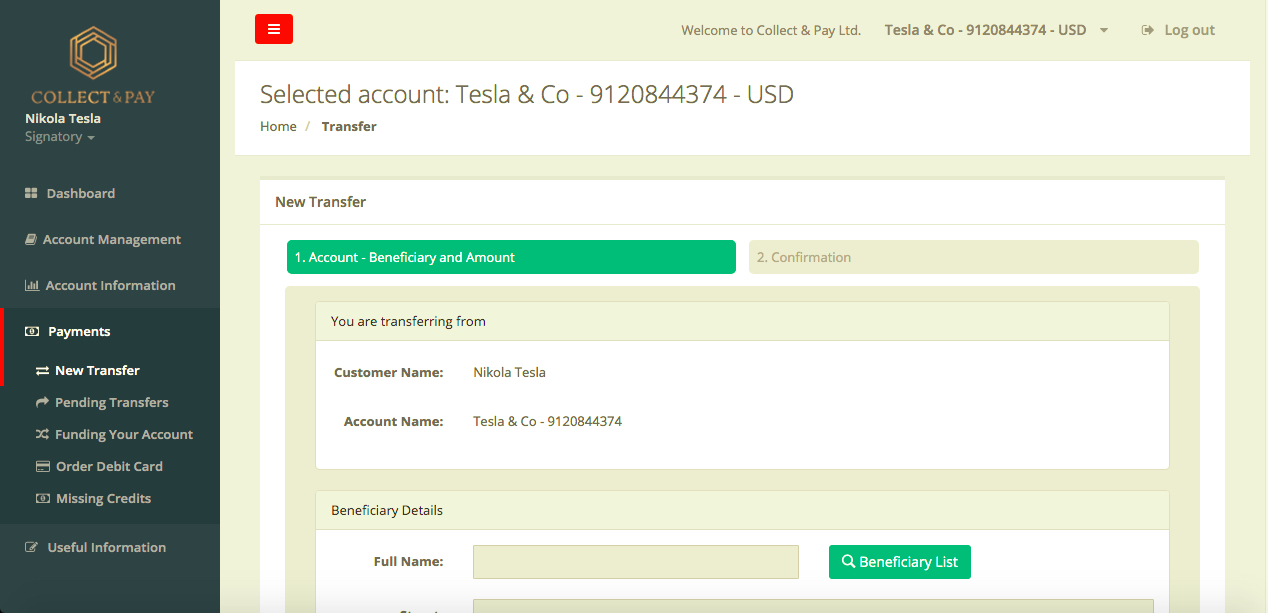
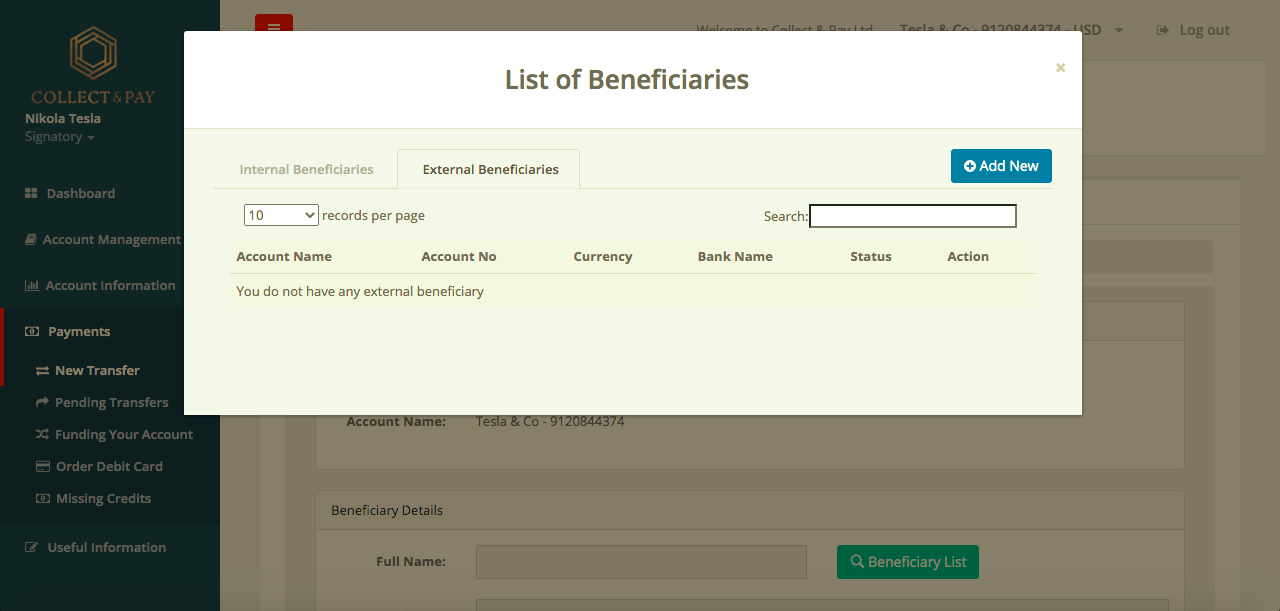
When making a transfer to a beneficiary outside of Collect & Pay system, you will be making an external transfer to an external beneficiary. To achieve this, kindly follow these steps:

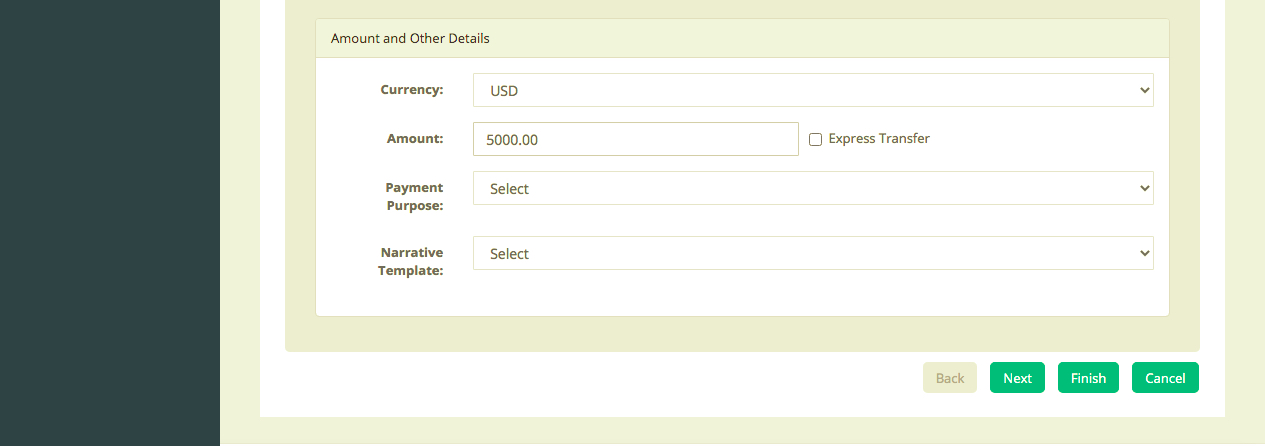
After reviewing the transfer details on the “Confirmation page”, click the “Finish” button.
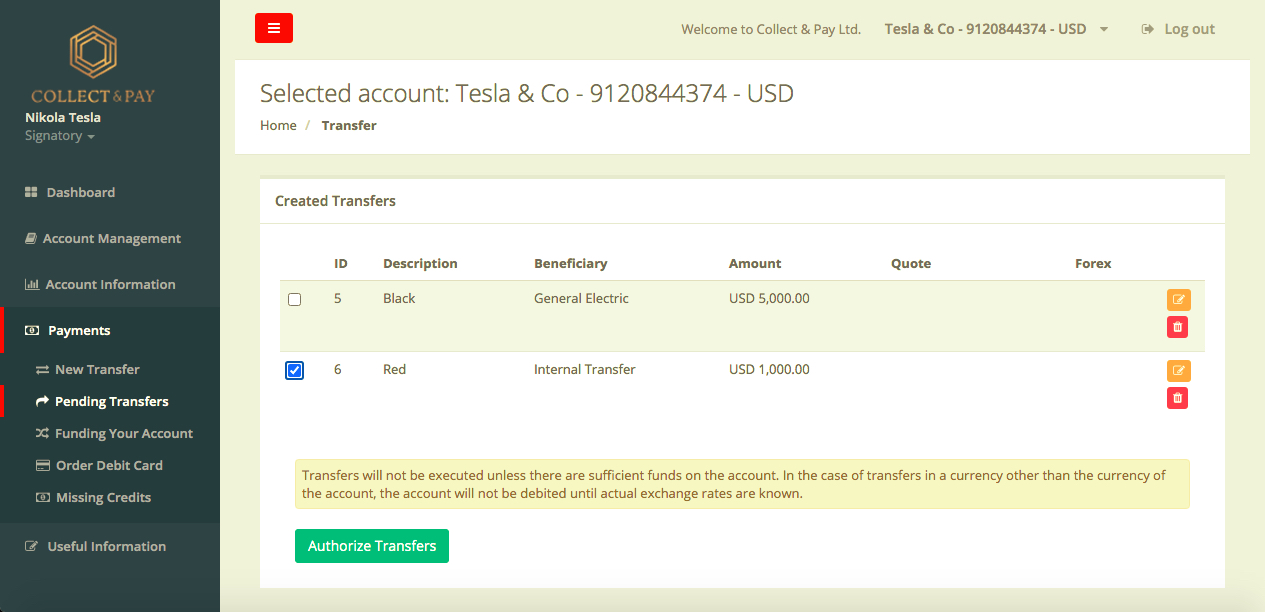
Your transfer is now created and pending your authorization in the list of “Created Transfers”.
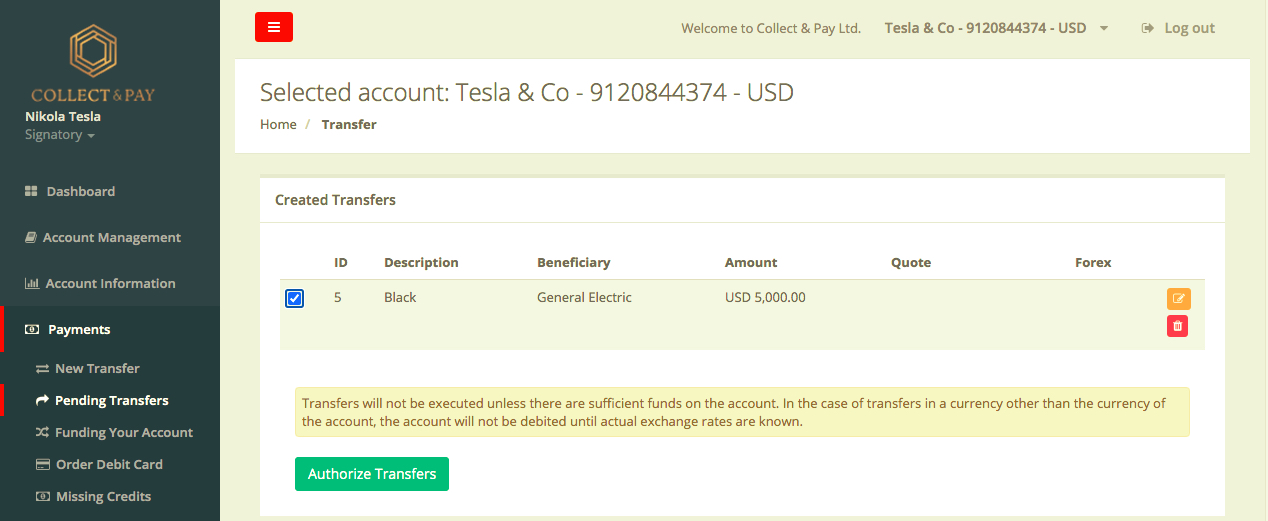
External transfers remain in “Pending Transfers” list until processed.
To check the successful completion of an external transfer, check the transfer in the “Transaction history”, which can be accessed from the “Account Information” link from the left menu.
Hint: You can access and create a list of beneficiaries (Internal and External) also in the “Beneficiaries” page, which you can access from the “Account Management” section from the left menu in your Collect & Pay account.
When making a transfer to another Collect & Pay account of yours or to an account of another Collect & Pay client, you will be making an internal transfer to an internal beneficiary. To achieve this, kindly follow these steps:


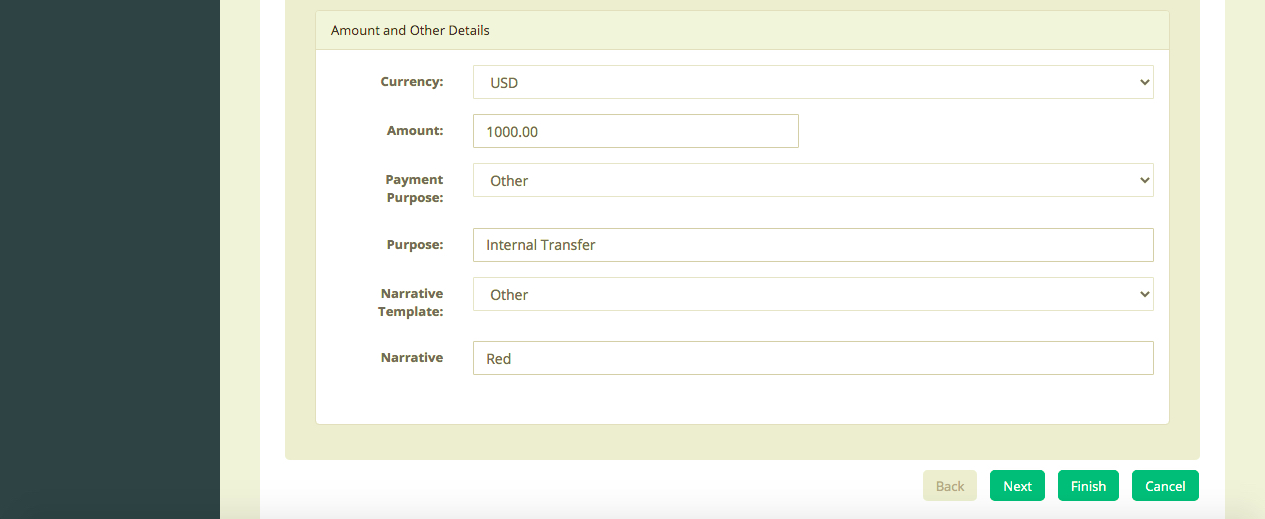
Internal transfers to verified beneficiaries are processed automatically. Internal transfer to a non-verified beneficiary or transfers requiring a compliance review will be processed by Collect & Pay manually.
To check the successful completion of an internal transfer, check the transfer in the “Transaction history”, which can be accessed from the “Account Information” link from the left menu.
Hint: You can access and create a list of beneficiaries (Internal and External) also in the “Beneficiaries” page, which you can access from the “Account Management” section from the left menu in your Collect & Pay account.
If Collect & Pay is unable to allocate an incoming payment to a Collect & Pay account of a specific client, Collect & Pay automatically marks such payment as unallocated and places it into its unallocated funds account. If the beneficiary of an unallocated payment is not discovered amongst the Collect & Pay clients within a reasonable time, the payment is sent back to the original sender.
If you are expecting an incoming external payment, which was not credited to your Collect & Pay account within 3 days from sending, kindly submit a Missing Credit report as follows:

As a licensed Payment Institution, Collect & Pay is subject to applicable Lithuanian, EU and international anti-money laundering (AML) laws and regulations and has established adequate controls and procedures in order to comply with the AML requirements. Preventing money laundering is not only in Collect & Pay’s best interest – when a customer provides his or her information, they are supporting our work against crime as well as our ability to provide quality services to society as a whole.
Transactional due diligence requires that we know of whose orders transactions are made and with whose funds. If your payment requires compliance review, we will ask you to justify why the payment is being made, and to demonstrate the economic basis of the payment. You should be prepared to provide us with an invoice, purchase order, delivery note, contract and/or any other documentary evidence that shows the transaction that is being made has a verifiable economic basis.
If your incoming payment has been put for compliance review, you will receive an email titled “Notification of transfer in compliance queue”. In order to provide us with a supporting document for such transfer.
Collect & Pay is committed to stopping financial crime at every opportunity and one of the ways in which we do this is by following the money trail. Uncovering where the money comes from before it reaches Collect & Pay is where a ‘Source of Wealth’ check comes to question. A ‘Source of Wealth check’ means asking you to send us some form of proof, to show that the funds coming to your Collect & Pay account comes from a legitimate source.
The following documents are accepted as part of a Source of Wealth check.